Class Websites
How to Create Your Class Website
You need a website on mywebspace to post your assignments. How do you do this? Use the following diagram for reference. It's a visual of what you'll be doing:
Note: if you're using this tutorial for a class other than 140, your folder name will be different.
STEP 1: Download the template
- Before you begin, be sure to download the site template provided to you from class. It will be a zip file.
- Unzip the file (in Windows be careful you aren't working in a zipped folder).
- You should see something like this (if you are on a Mac):
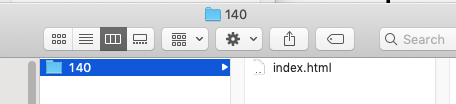
- This "140" folder is the folder that will hold your website. The index.html file is the HTML file you will be editing (and the uploading) whenever you turn in work.
STEP 2: Download an FTP program
- Install an FTP program on your laptop. Two free options available for both Mac and Windows are FileZilla and Cyberduck. Cyberduck is a probably a little easier. Download Cyberduck here.
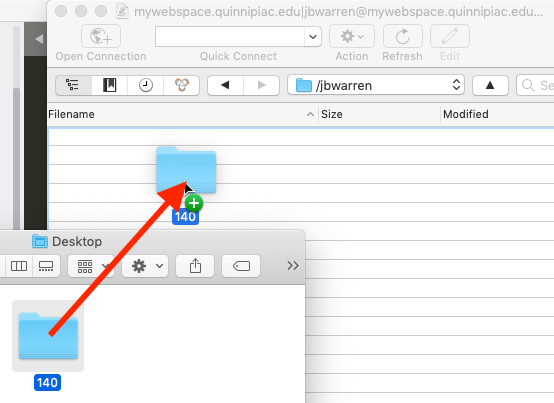
STEP 3: Use the FTP program to upload your site to mywebspace
- Connect to the mywebspace server using FTP. Follow the instructions from Step 2 here.
- If you've connected properly, there will be no errors and you should see a folder with your id (first initial, middle initial, last name).
- After you've connected, drag your 140 folder to the right side of the screen to upload it:
STEP 4: Test the site
- Open a browser pointing at your class site (you can click on your name from the class website's Students page) and refresh the page. Make sure you can see the site. It should look like this.
Read more about your mywebspace account
- Find more info here.